WordPress Block Theme User Manual
LIQUID PRESS BLOCK MAUNAL-
How to use the WordPress block theme
This is the manual for "LIQUID PRESS BLOCK", a block theme with full site editor support.
-
How to use the site editor
With a block theme, you customize the design under Appearance > "Editor".
Compared with Appearance > "Customize" in a classic theme, you can freely edit many more elements.In the editor, click on the right side and use the block editor to edit the appearance.
Click the "site logo" at the top left to return to the previous screen.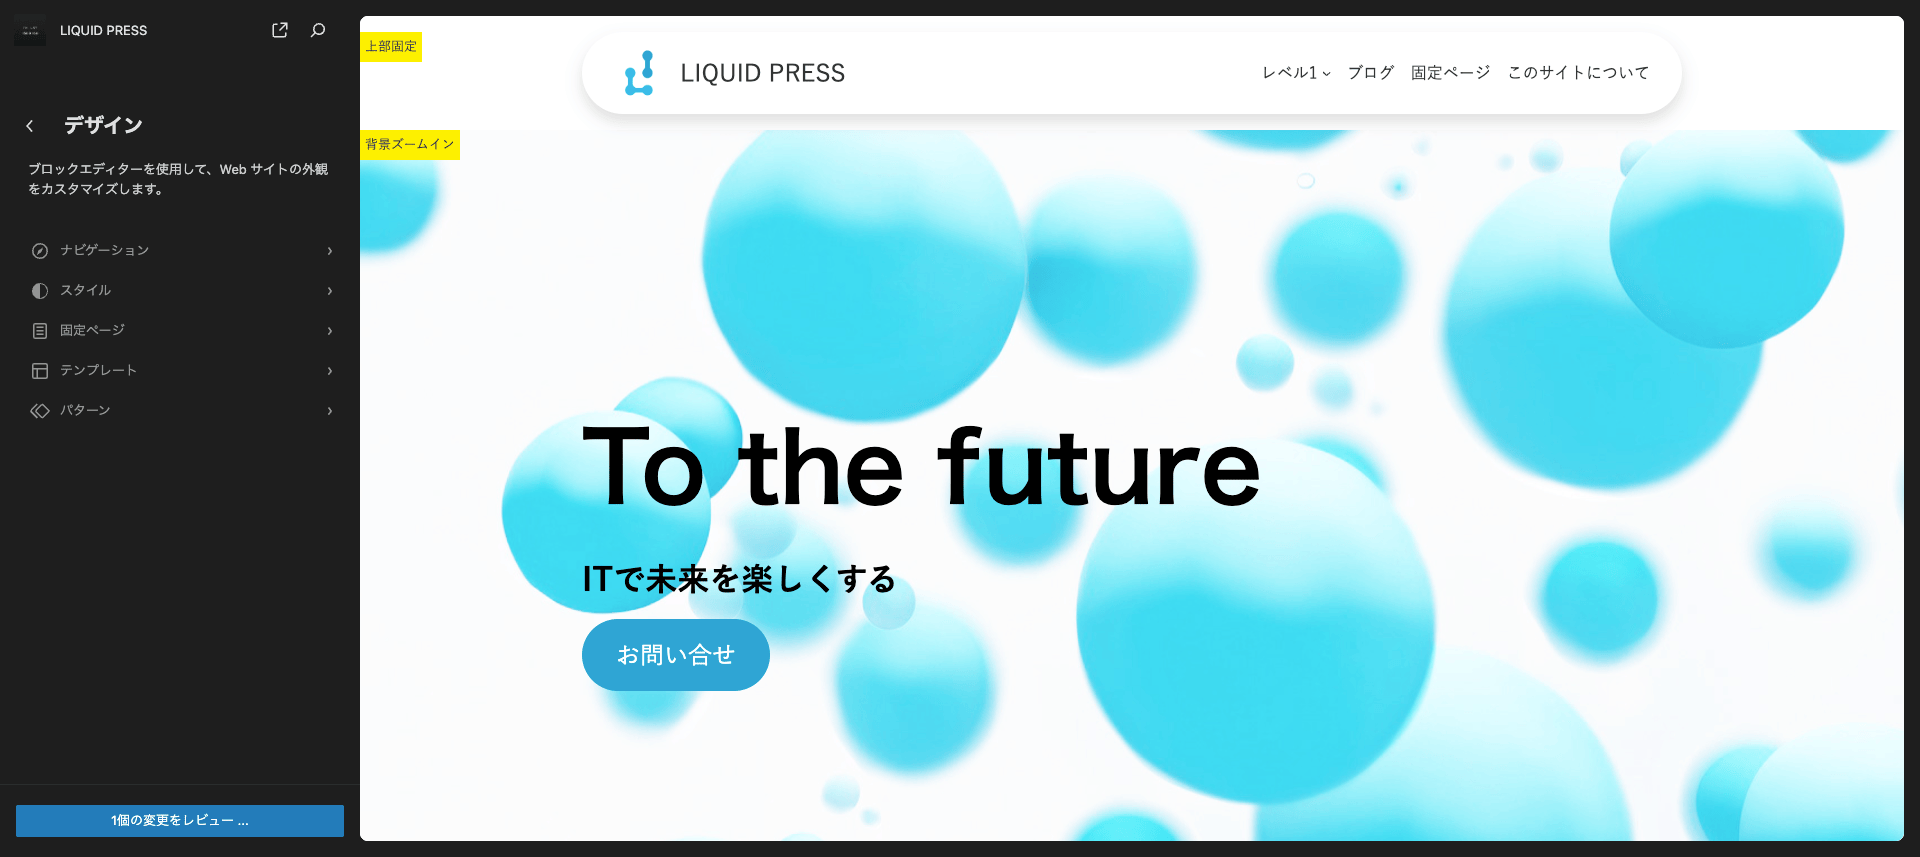 * The editor screen. The screen may differ depending on the version of WordPress itself or of the theme.
-
Editing navigation
Edit and create your site's menus. Reorder the menu items on the left by drag and drop.
Click the preview on the right to edit the menu contents.
Within the menu contents, you can also add elements such as button blocks.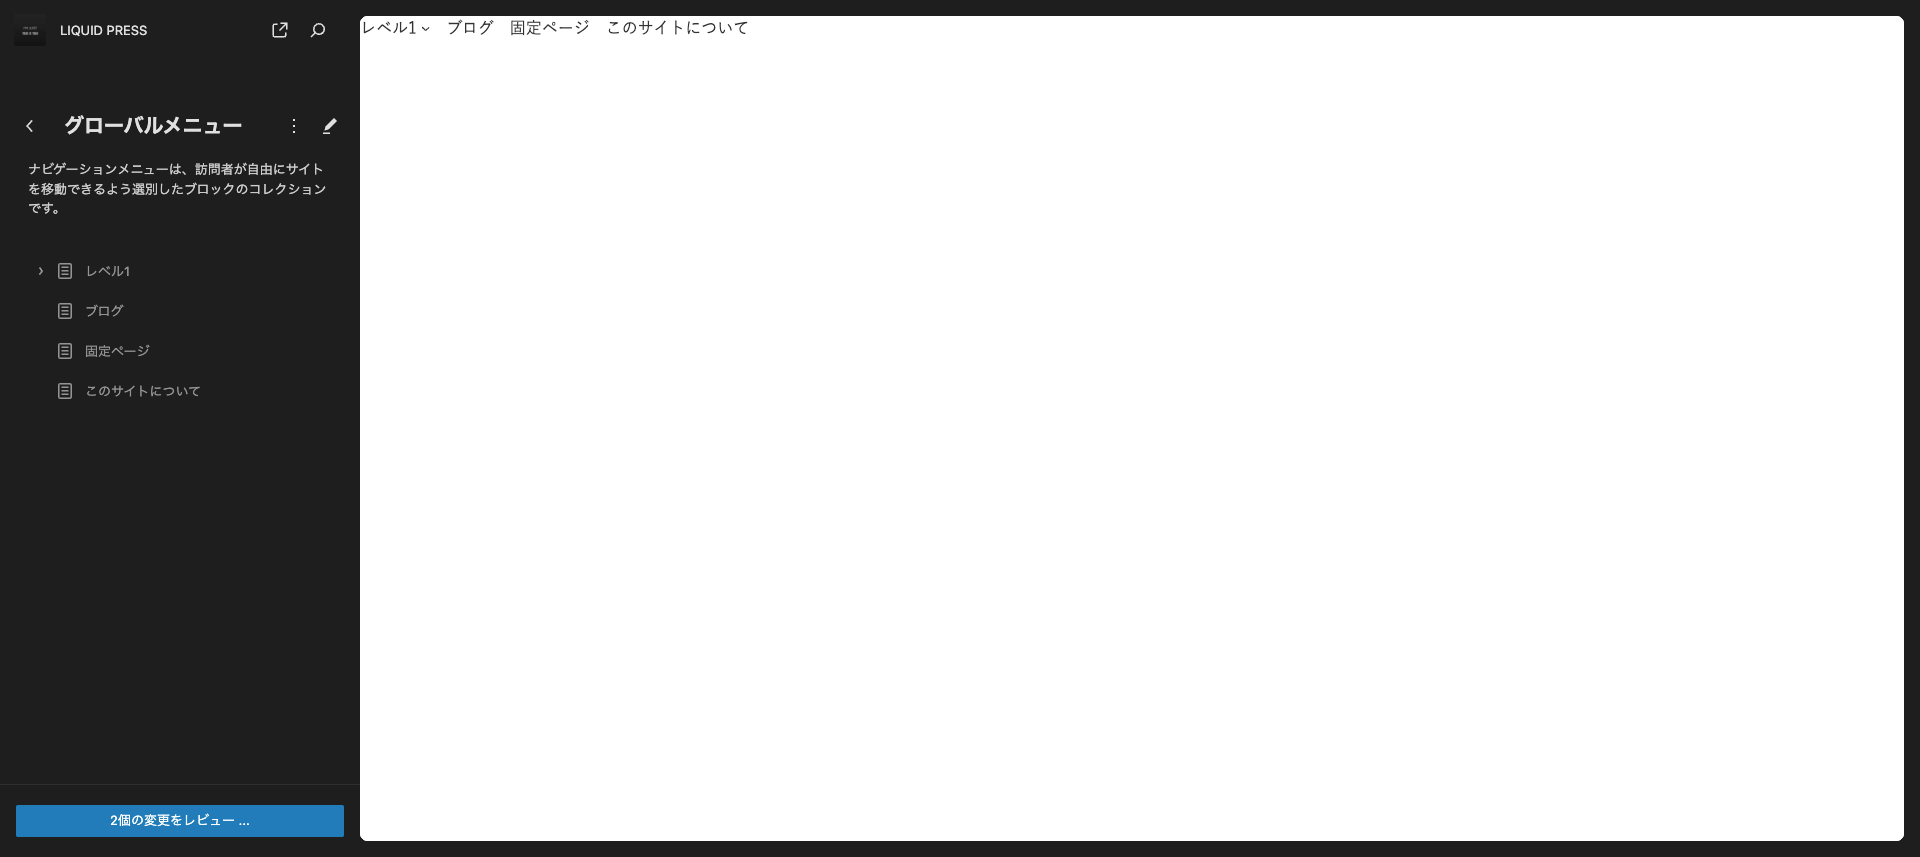
Alternatively, on the template editing screen (described below), select the navigation block and edit the menu contents.
In the sidebar you can reorder menu items, switch or create menus from the "⋮" menu, and access detailed settings from the "Settings" icon.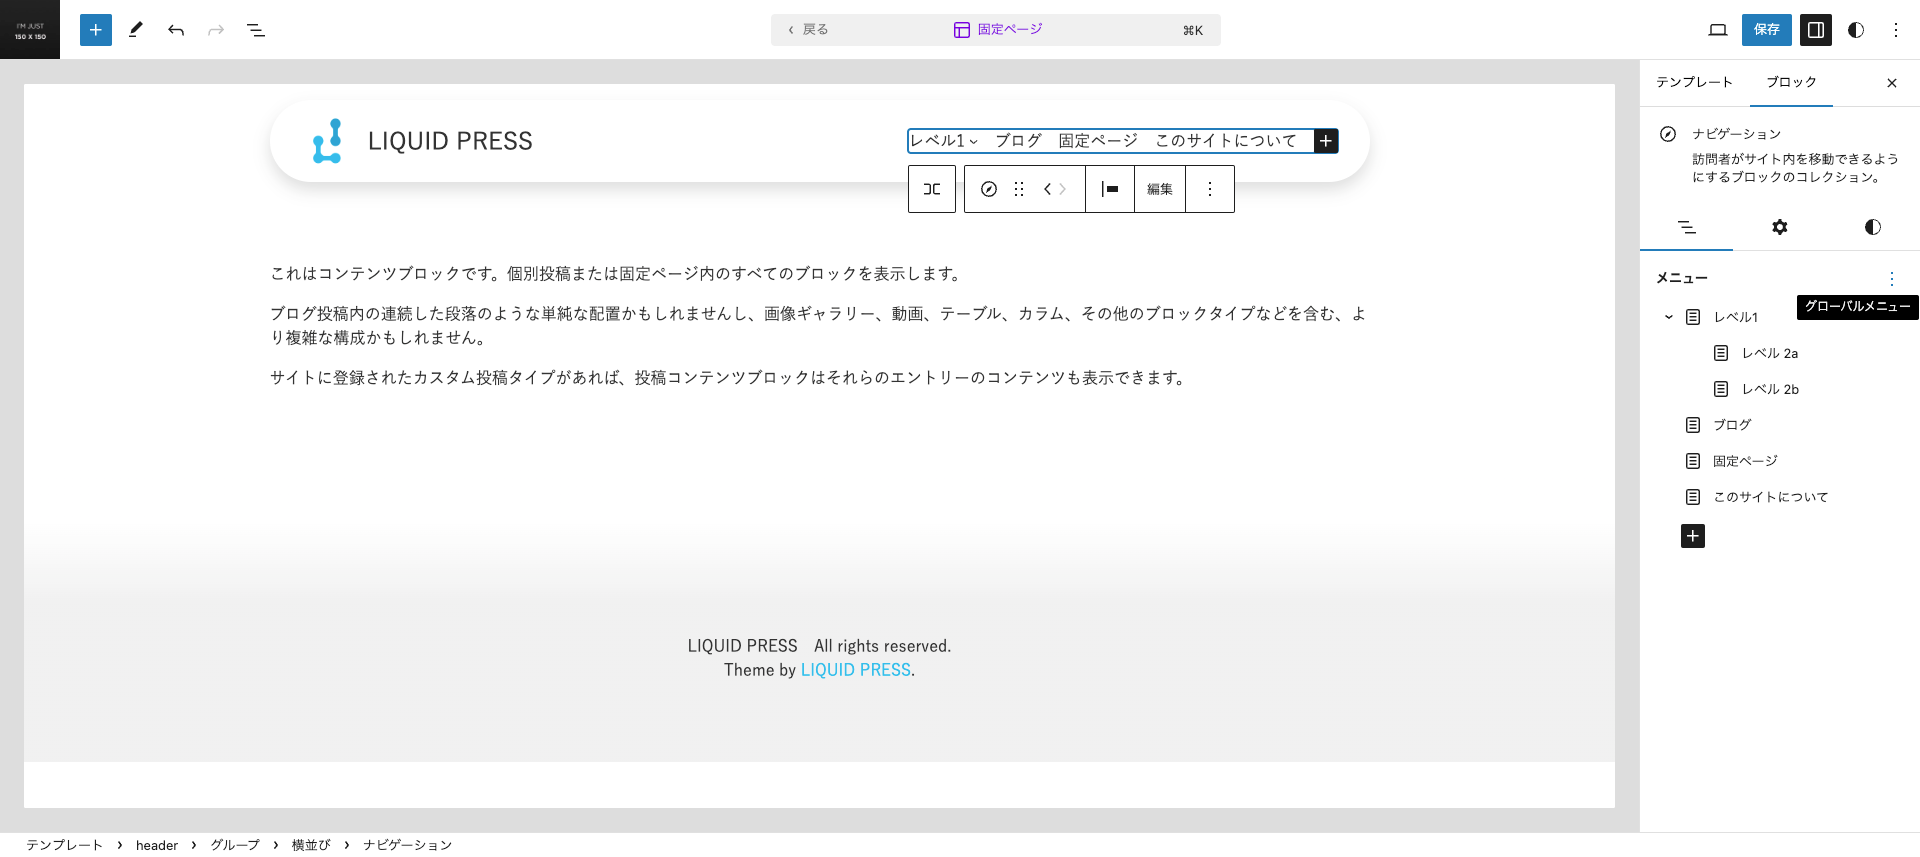
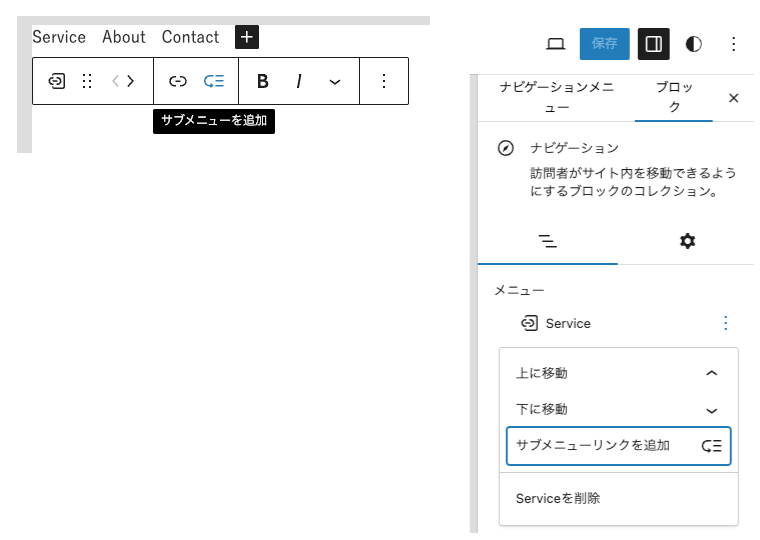
You can add a "submenu" to a menu to create a hierarchy.
-
Editing styles
You can change the look of your entire site.
Select one of the ready-made "styles" on the left. Click the preview on the right to edit the style.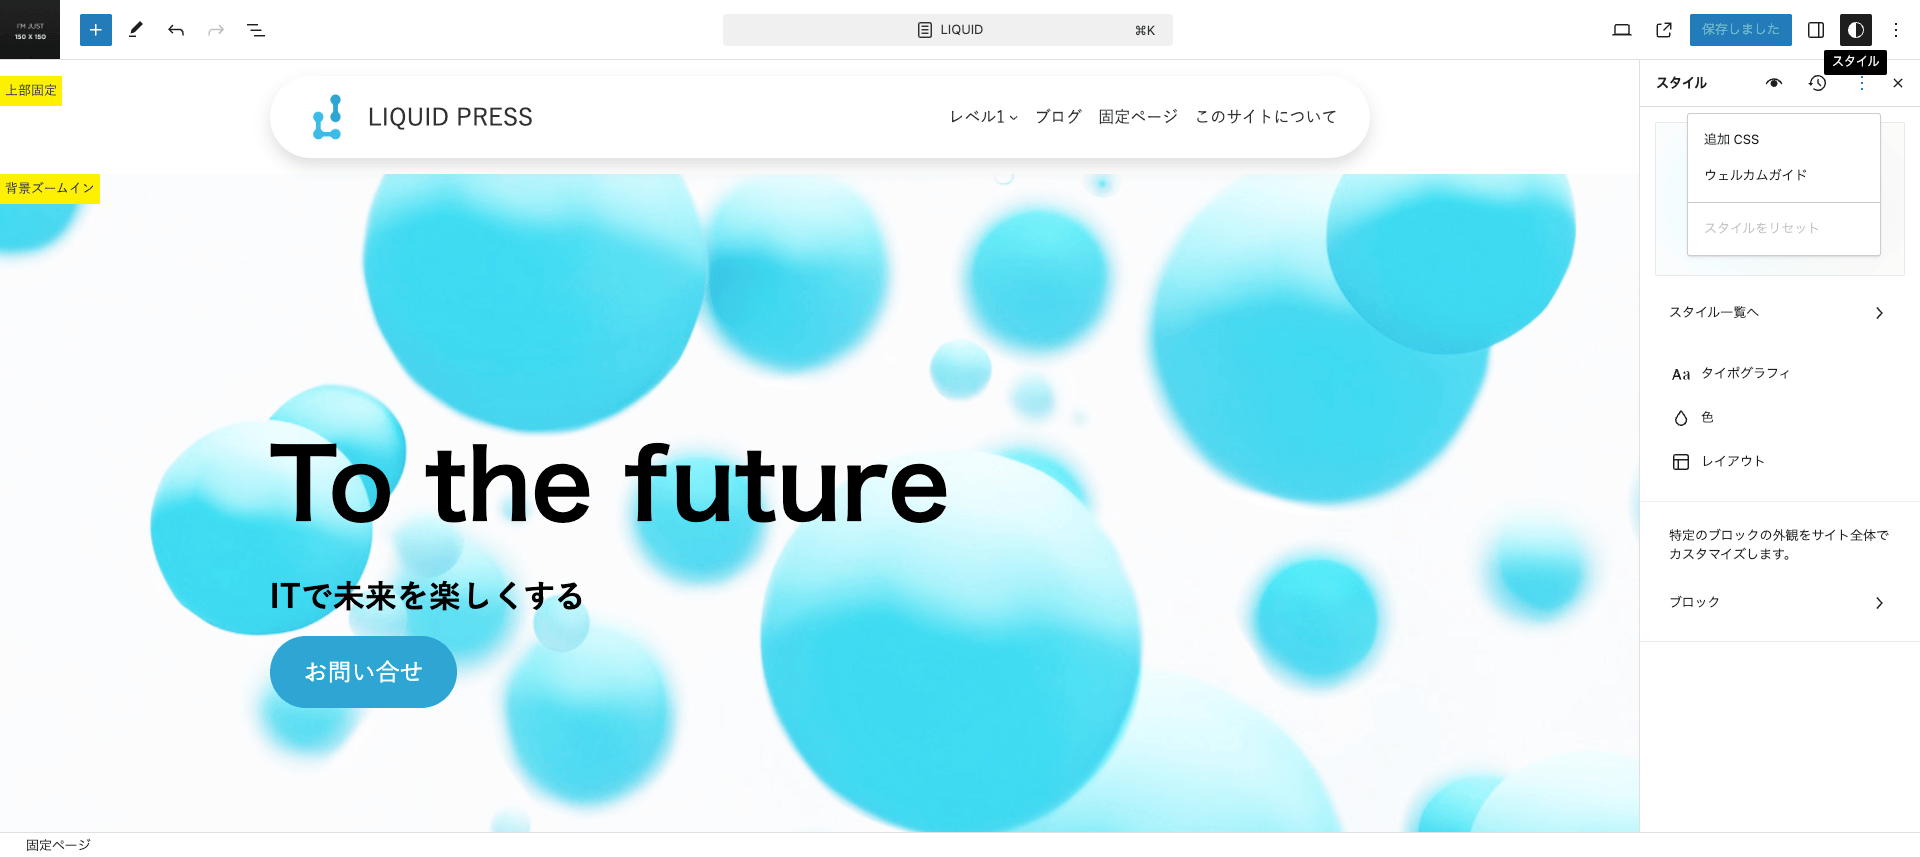
Configuring global styles
Click Design > Styles in the left menu, or "Styles" at the top right.
Typography
Fonts: manage your fonts.
Upload fonts or install Google Fonts.
Elements: configure fonts per element.
Size: edit the font size. Use the icon at the top right to set a custom size.
Appearance: set bold, italic, and so on.
Line height: set the line height.
Letter spacing: set the letter spacing.
Letter case: set uppercase/lowercase.Color
Palette: edit the color palette used in the editor.
Colors: edit the colors of text, backgrounds, links, and more.
Typography: set the fonts you want applied across the whole site.
Layout: set block spacing and so on.
Blocks: set detailed styles per block.Additional CSS
You can add CSS to be applied across the whole site. Click "Additional CSS" from the "⋮" menu in the Styles sidebar.
Enter your additional CSS, click "Save", then click "Save" again on the confirmation screen.Style book (eye icon)
Lets you review how every block is rendered, all in one place. -
Editing templates
Select the template you want to edit, then add, delete, or move blocks to customize the layout.
Click the preview on the right to edit the template. After editing, click "Save" at the top right to apply the changes to your site.
If "Edit the template to edit this block." is displayed, click "Edit template".Hover over any section of the page and that part is highlighted as a block. Click a block and its block-specific settings appear in the sidebar, letting you edit its style and content. To add a block, click the "+" button at the top of the screen and select the block you want to add.
Please also see Handy ways to use the block editor.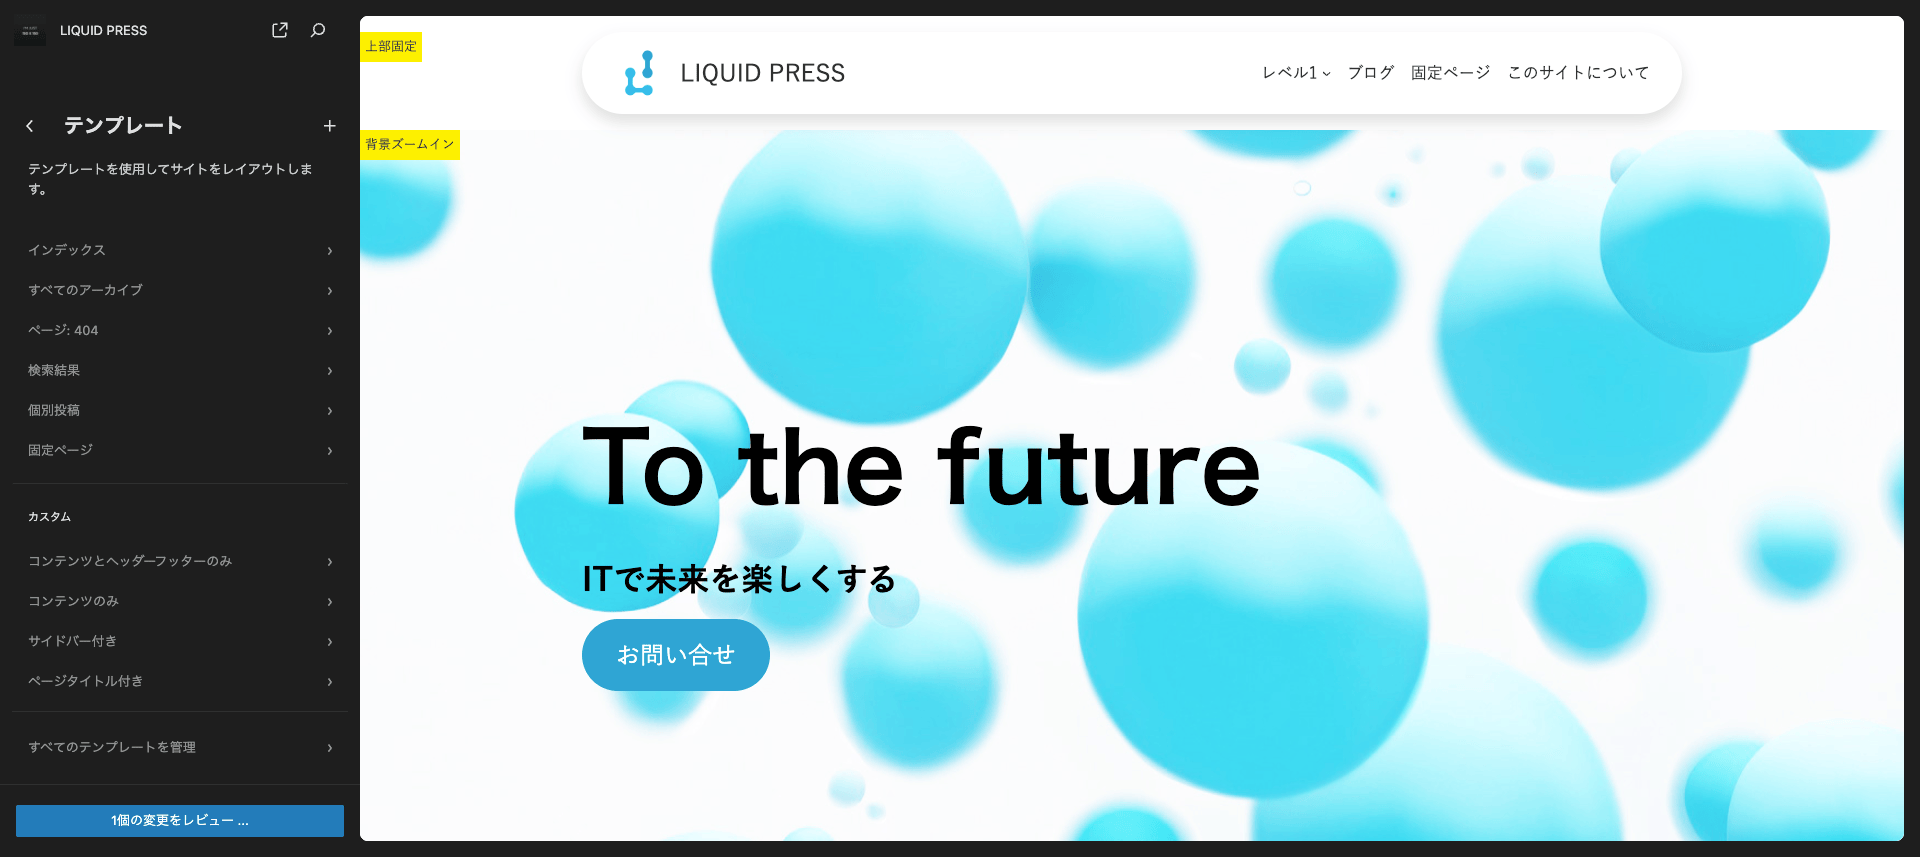
Creating a new template
If you need a type that does not exist among the current templates, you can create one by clicking the "+" at the top left and choosing "Add new template".
For example, you can create a new post template for a specific category.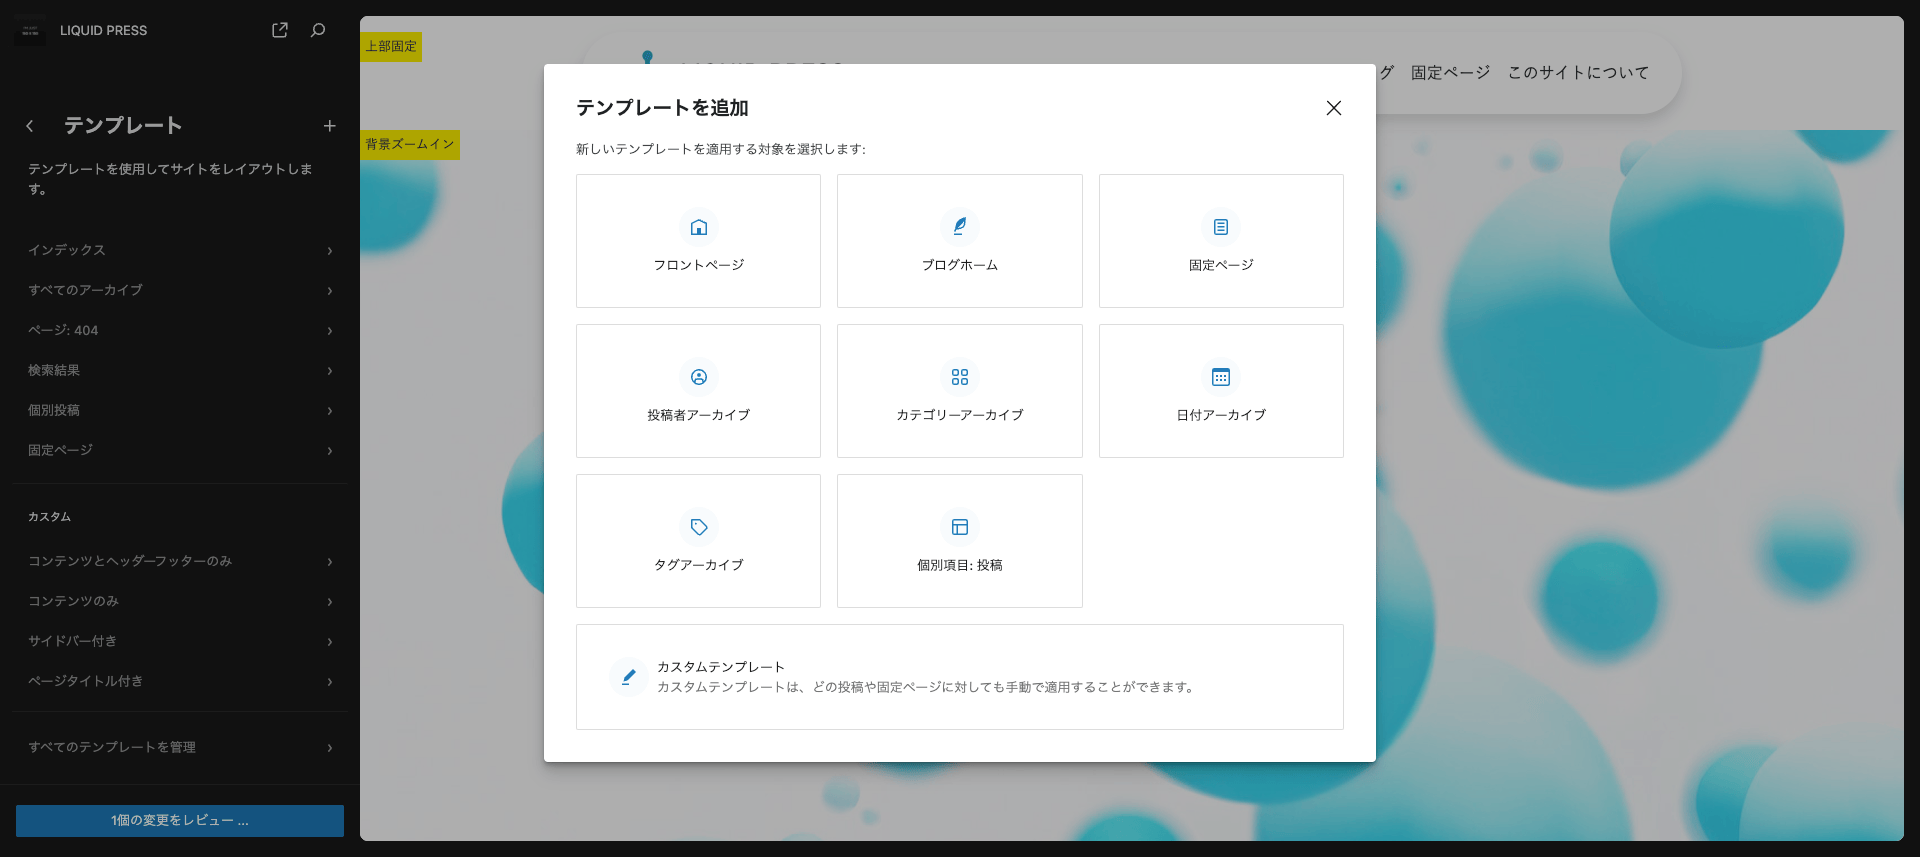
Reset
You can reset your template edits and revert to the original.
Bottom of the template list on the left > Manage all templates > Template name: Actions > Reset
If there is no reset icon, it may be under Patterns > Show all template parts instead.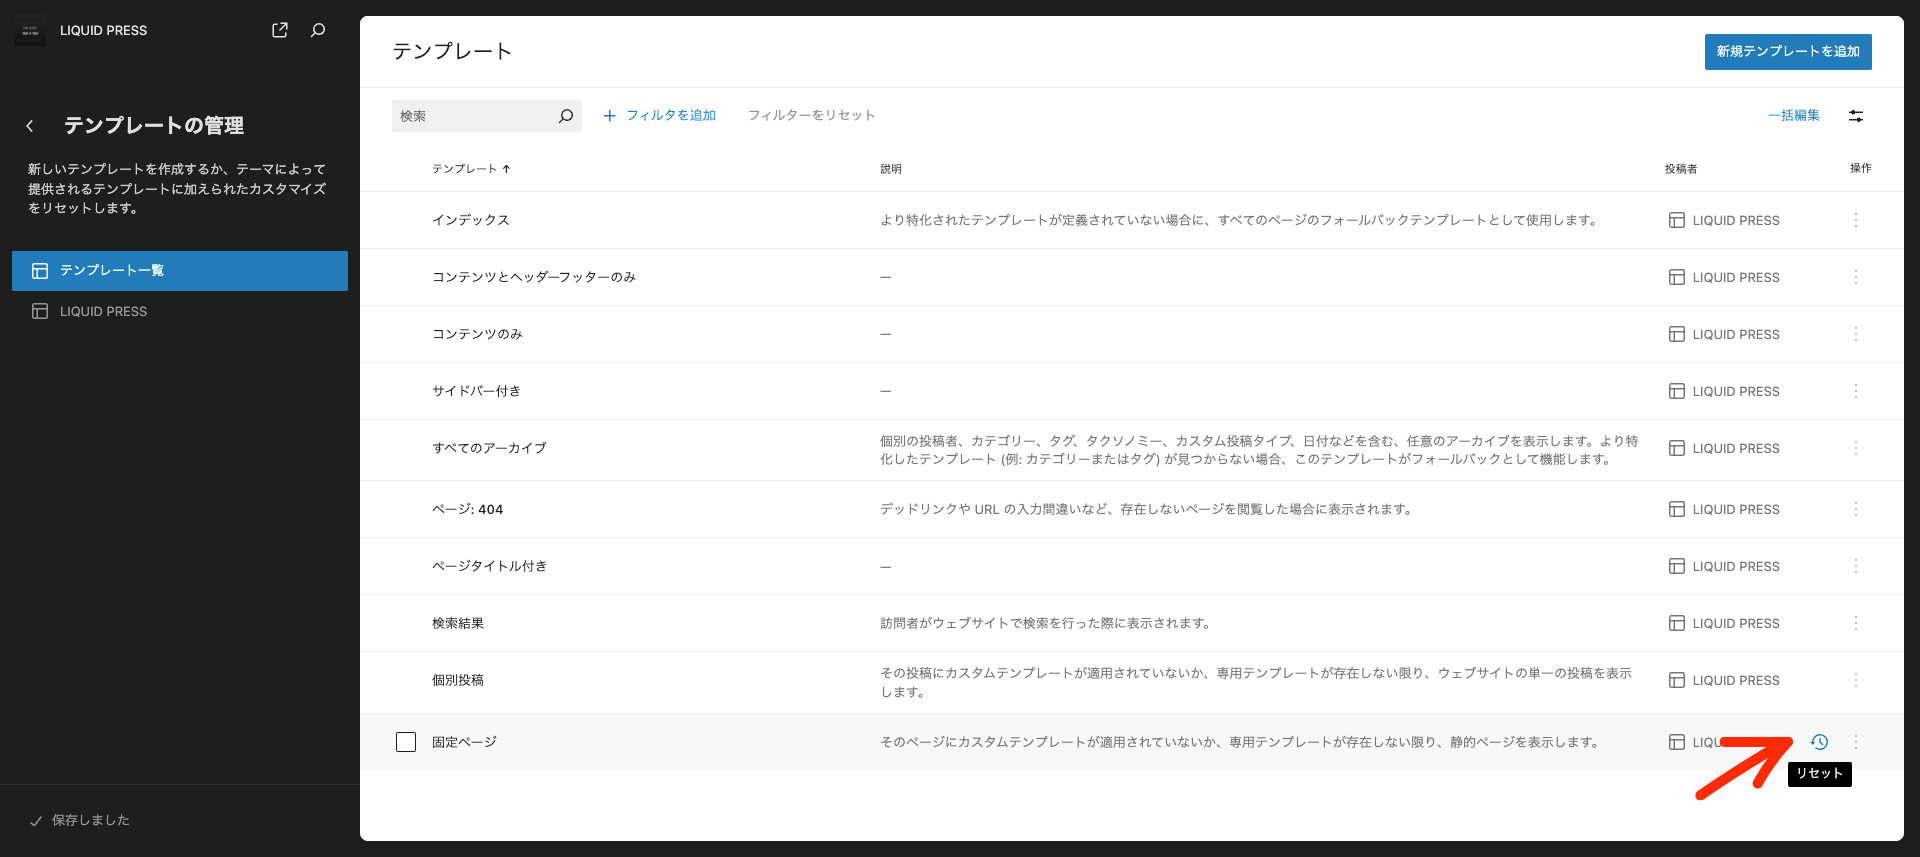
Editing the site logo
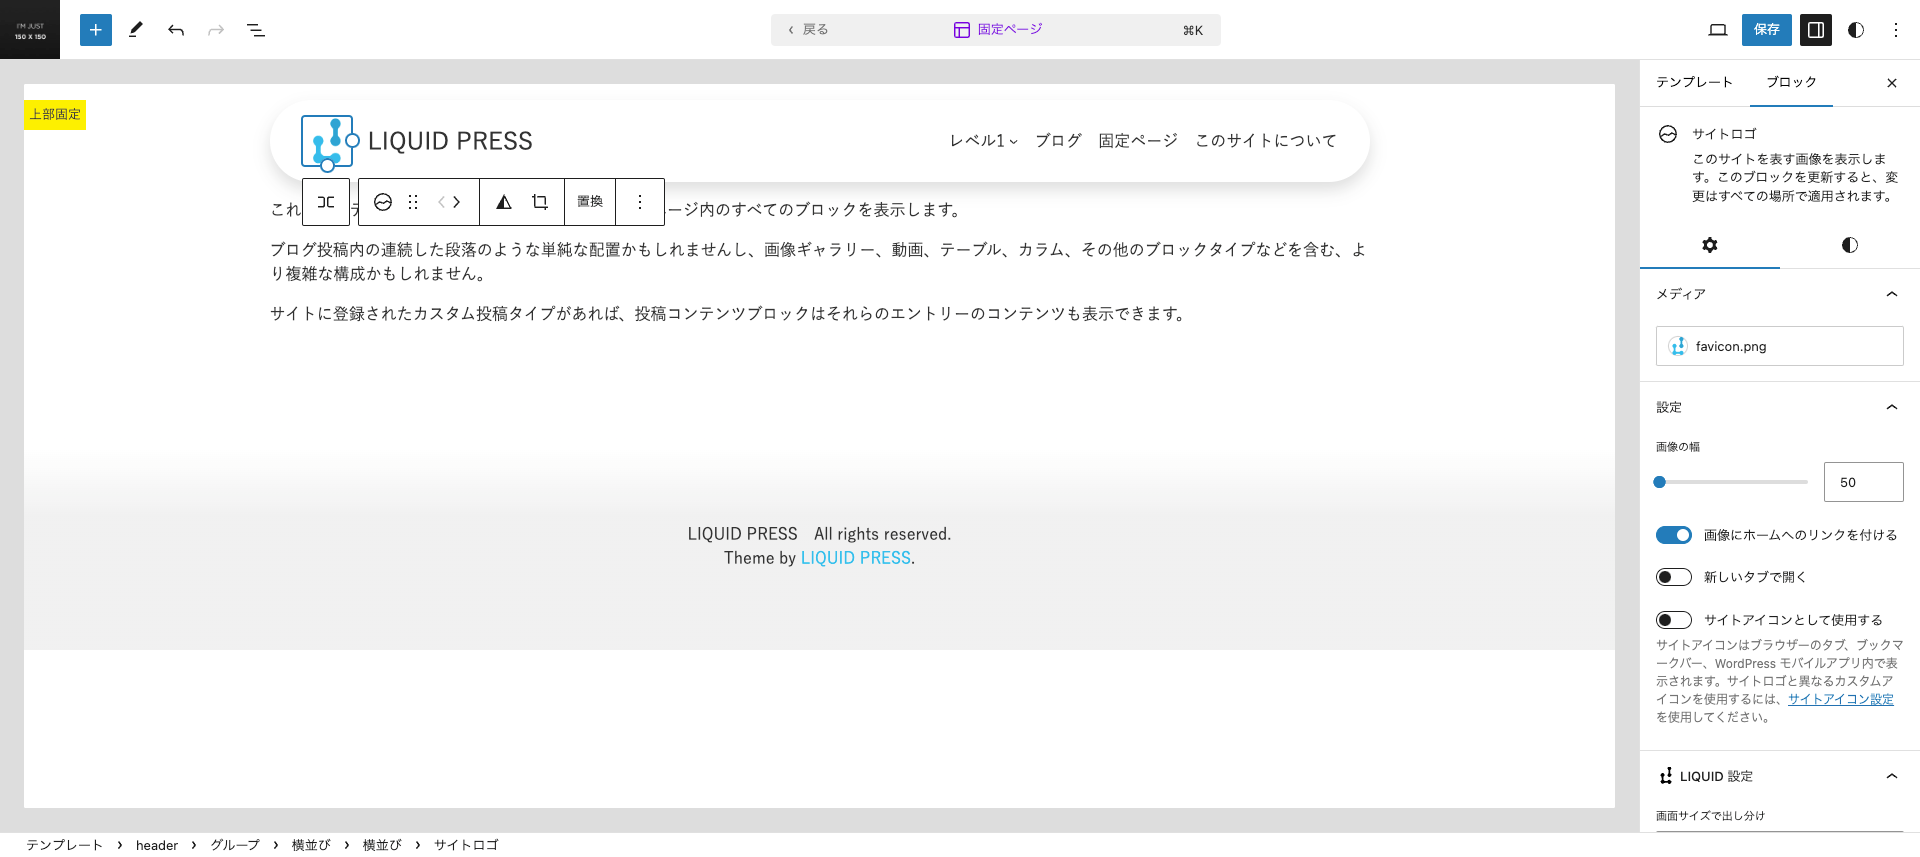
Select the "Site Logo" block and edit the image and other settings.
Editing the header
Click Replace from the "⋮" menu on the header block to change the header pattern.
header: fixed at the top of the screen (default)
header-fixed-top: not fixed at the top of the screen
header-flat: a simple design with no surrounding frame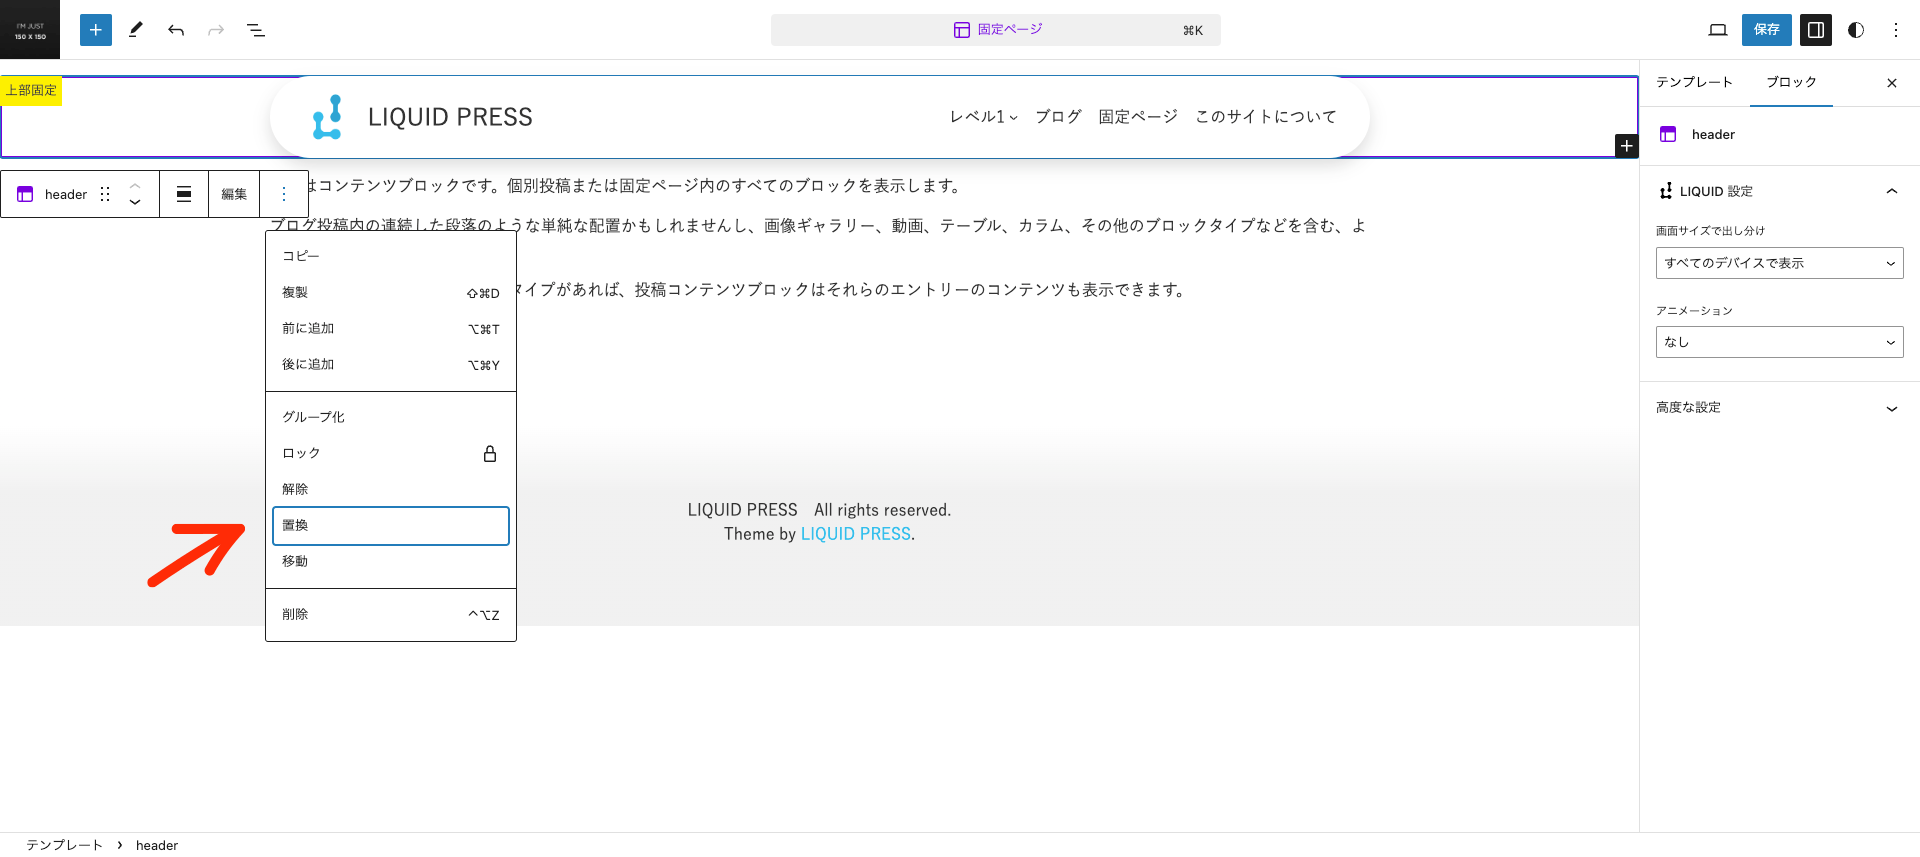
-
Editing patterns
You can edit and create reusable patterns (template parts) such as the header and footer.
By editing these parts, you can change sections that are shared across your site.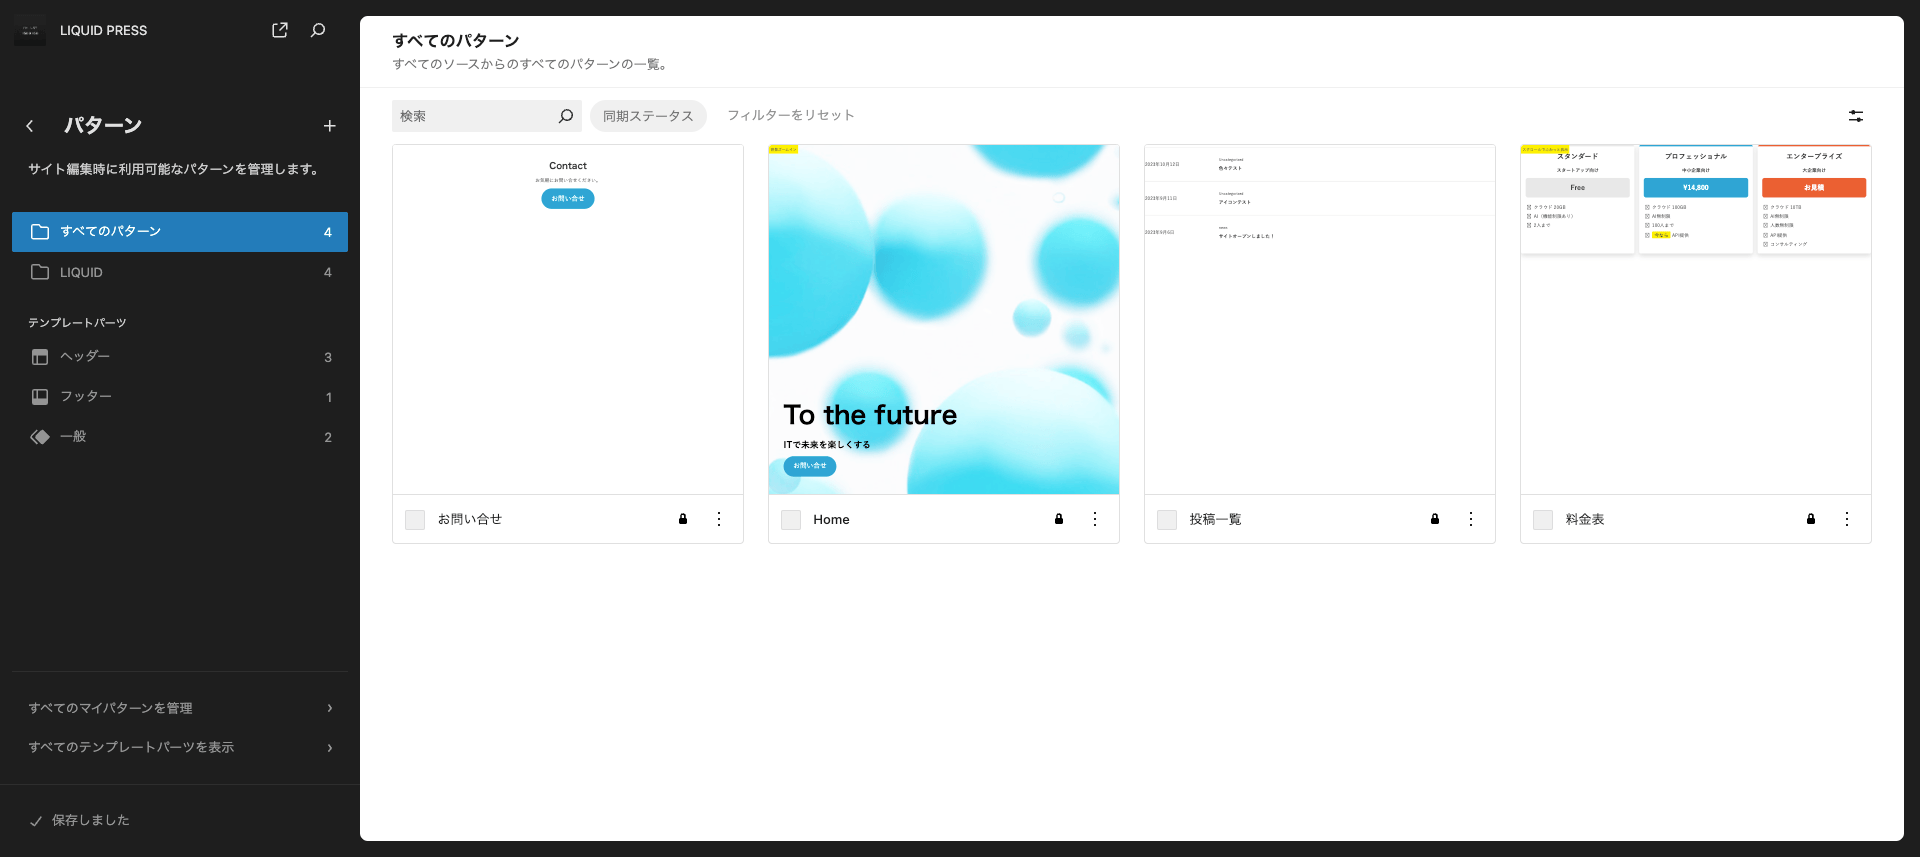
-
Creating posts and static pages
The block editor (Gutenberg) manual is here
Handy ways to use the block editor and theme compatibility
How to design and customize with the block editorSelecting a post template
If you want to change the overall design of your post pages, use the template feature.
Post > Sidebar > Template > Edit template, Swap template, Create new template (described above)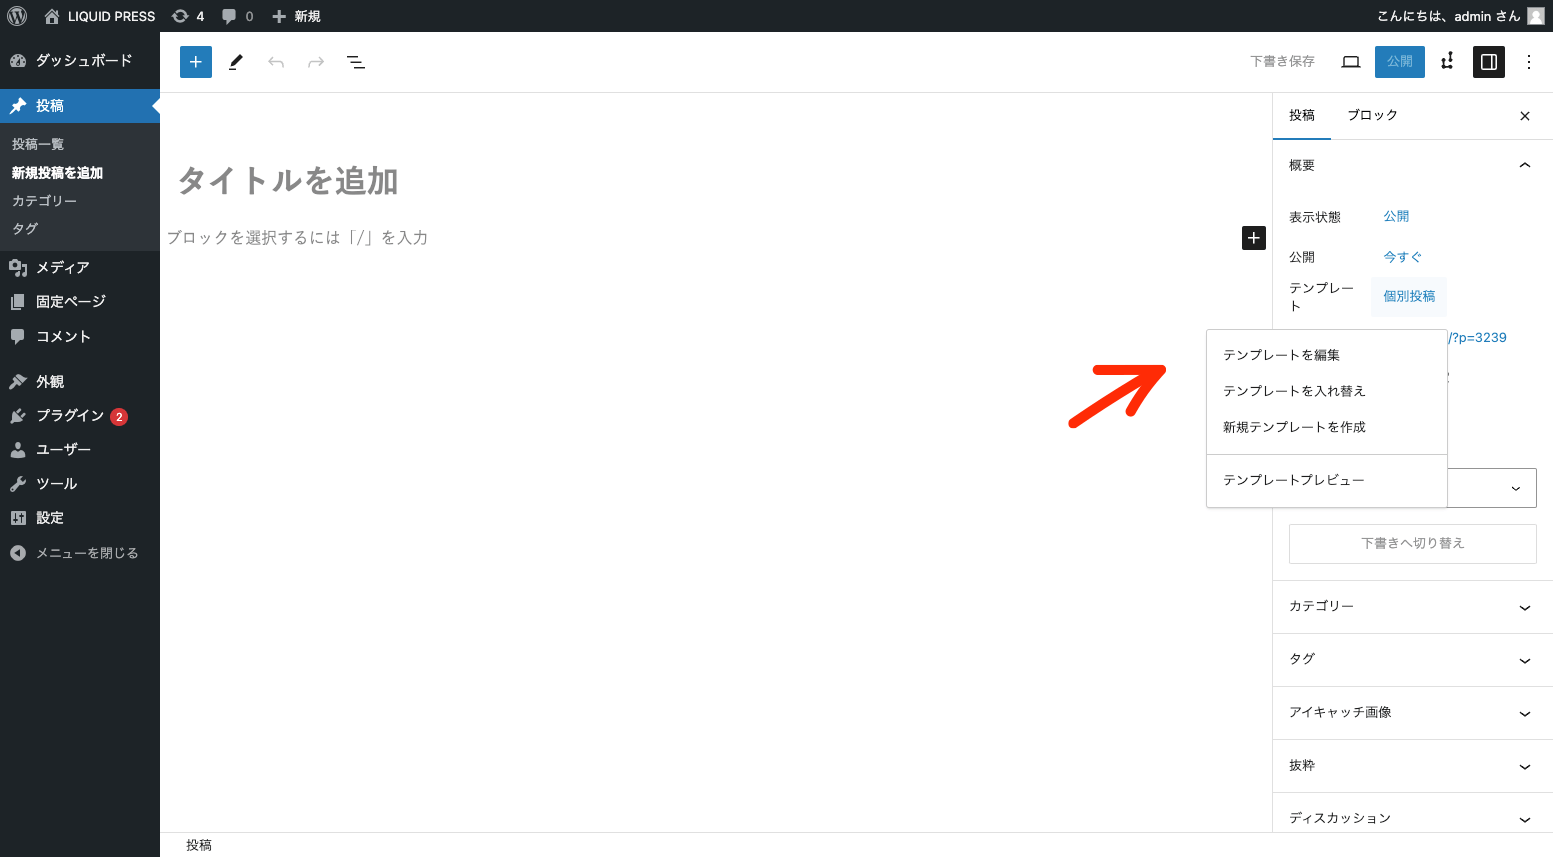
Selecting a static page pattern
For static pages, when you add a new static page you can choose a pre-designed page pattern and apply it to your draft. By default, the demo site designs are available to choose from.
Click the "✕" at the top right to create an empty page as usual.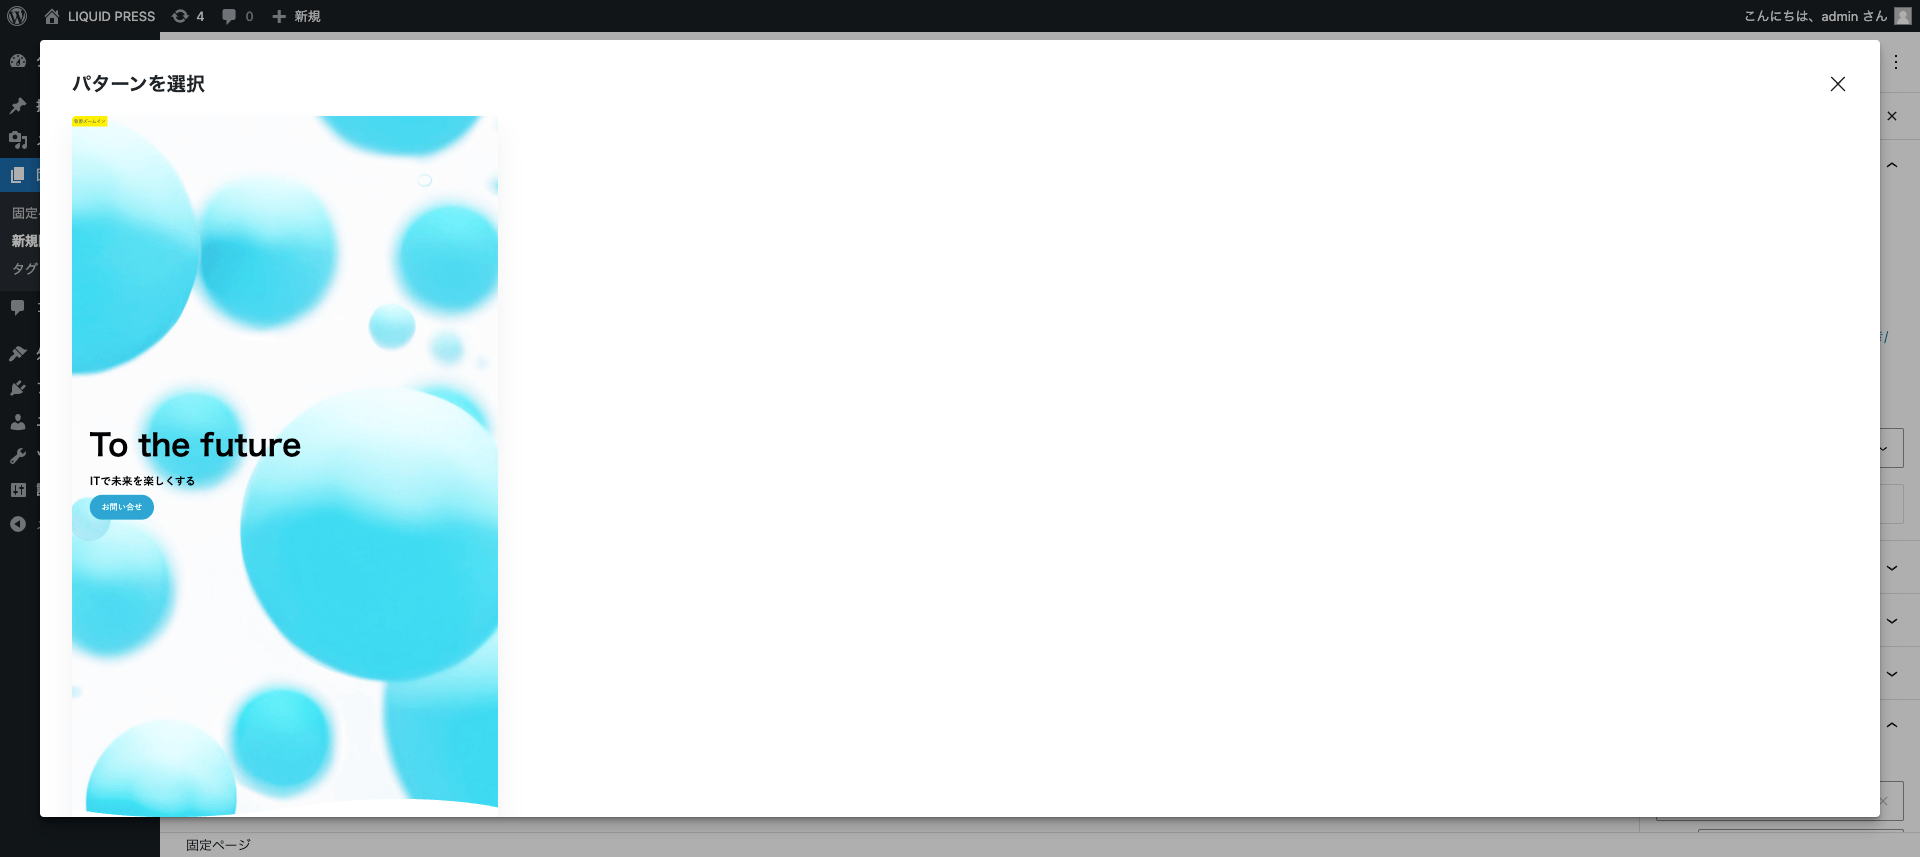
About templates
If you want to change the overall design of a static page, use the template feature.
Page > Sidebar > Template > Edit template, Swap template, Create new template (described above)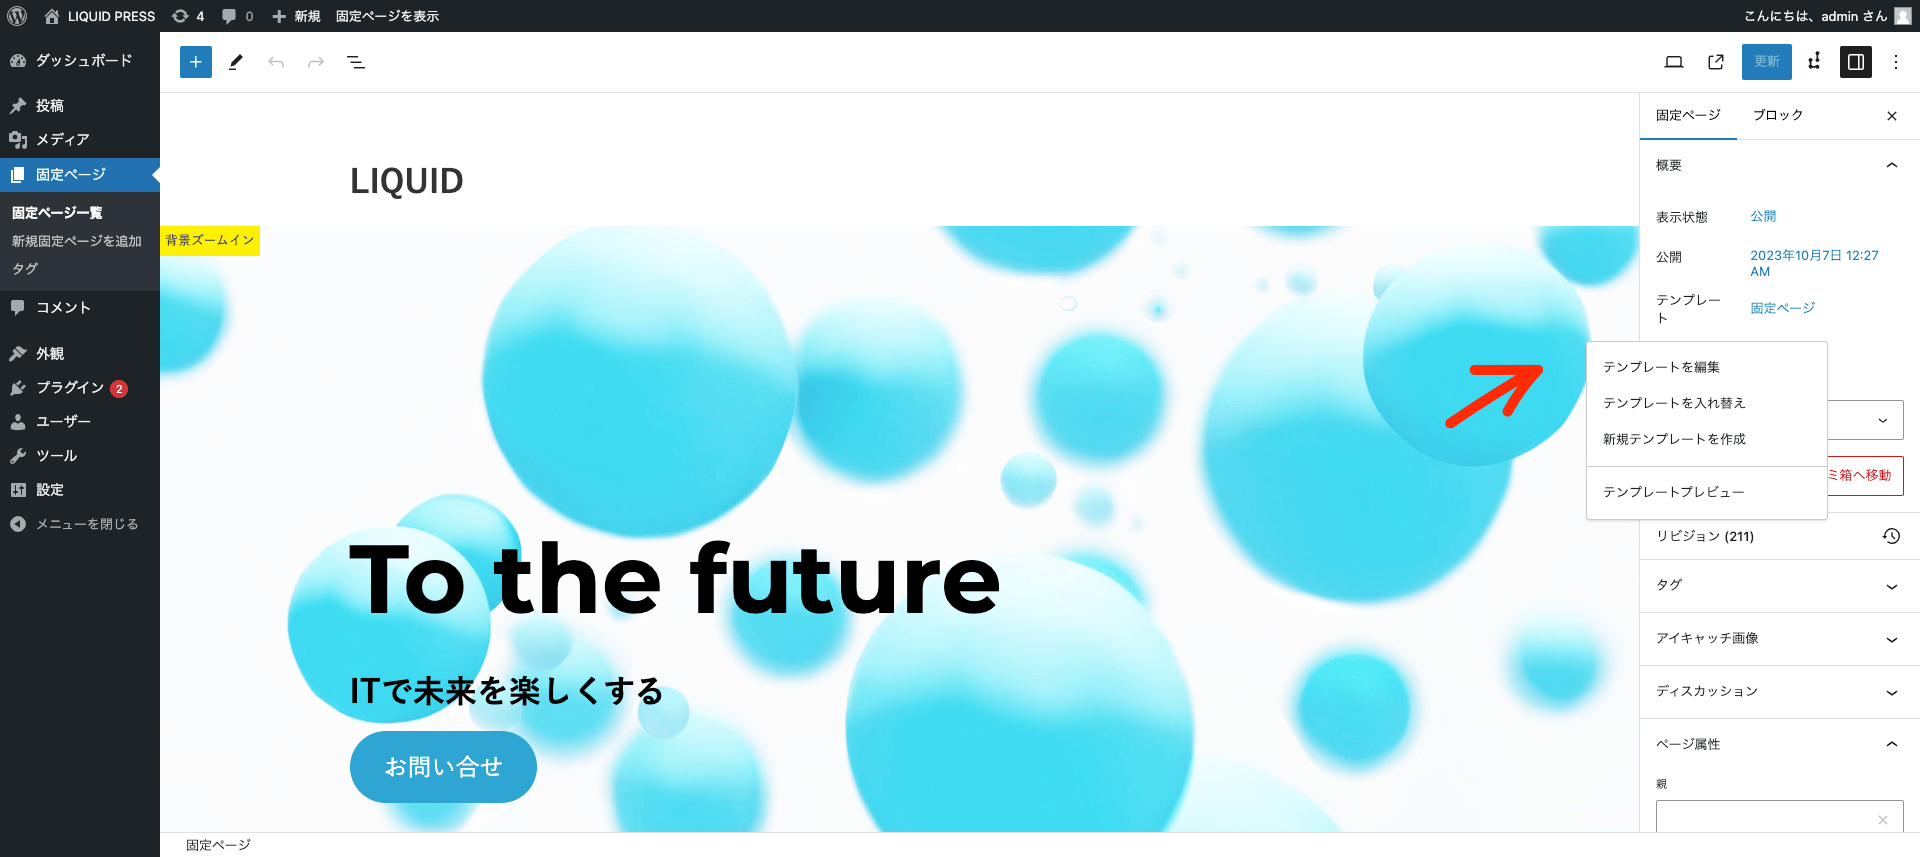 If you want to use it as your top page, select "No title".
About the top page
To display a static page as your top page, go to Dashboard > Settings > Reading > Homepage settings, check "A static page", and select the static page for "Homepage".
About post listings
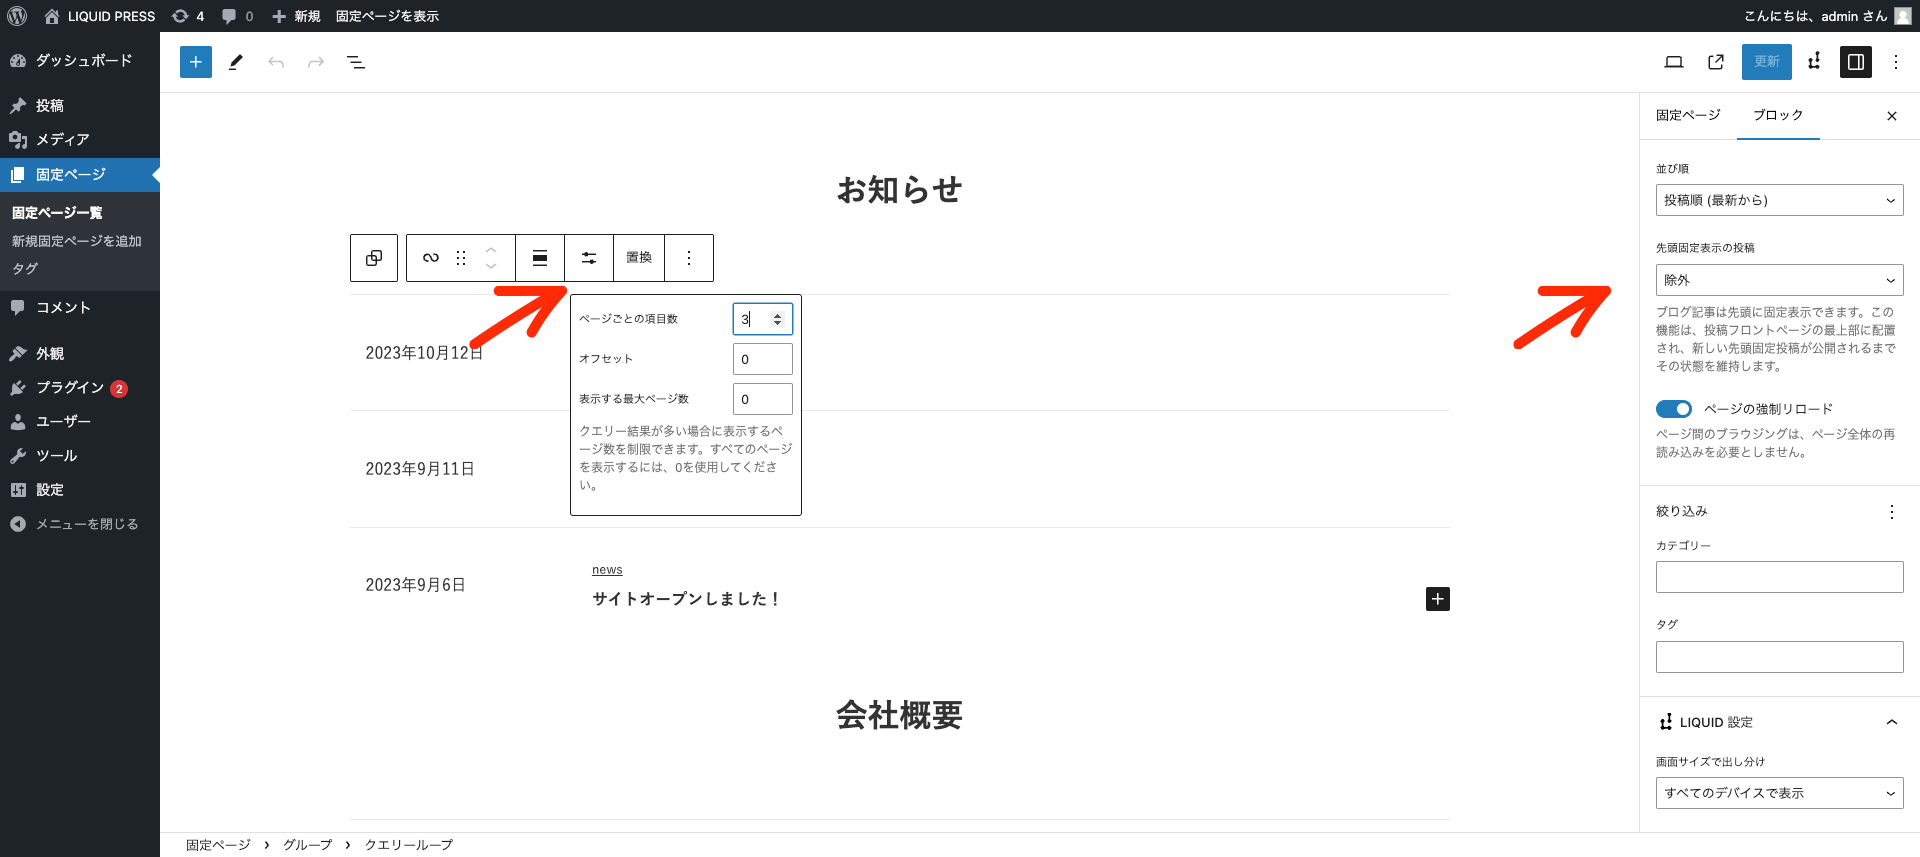
Post listings such as news can be created with the "Query Loop" block. You can set the number of items displayed, filtering conditions (categories and tags), and more.
Block controls
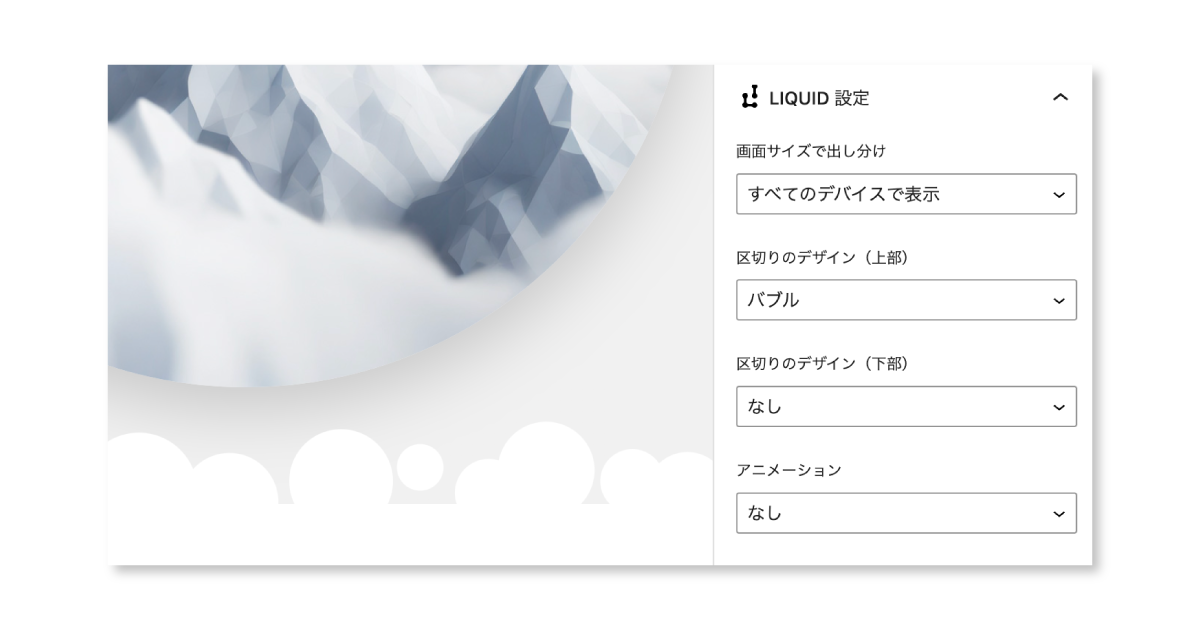
Select a block and, from "LIQUID settings" in the sidebar, you can control display by screen size, design section dividers (supported on group blocks), and set animations.
You can also select text and insert a linked icon inline.